After processing the workpiece by any surface modification process (such as metal cutting, surface treatment, forming, etc.), quality of the final surface can be judged based on several aspects. All such aspects are integrated by the term Surface Integrity. It covers all primary, standard and extended data sets related to quality of a solid surface. Assessing quality of machined surface is important for judging machinability for a combination of work-tool material under specific cutting condition. In the context of machining, two phrases—surface roughness and surface finish are commonly used to characterize the quality of machined or finished surface. Surface roughness is one parameter under surface integrity; in fact it is the most widely used surface characteristics parameter.
Although surface roughness and surface finish are frequently used interchangeably and also signify same thing, they are different in several ways. Surface roughness refers to the height of macro and micro asperities and irregularities present on a finished surface after machining; while surface finish indicates quality of that surface using various attributes (like fine, rough, good, poor, etc.). Surface roughness can be measured and expressed quantitatively. Unlike surface roughness, surface finish cannot be measured or quantified; it can only be expressed quantitatively either directly from appearance or indirectly from the roughness value. Similarities and differences between surface roughness and surface finish are discussed in following sections.
Similarities between surface roughness and surface finish
- Surface finish is reciprocal to surface roughness, thus any one can signify the other one.
- Both are used interchangeably without much confusion in most of the occasions.
Differences between surface roughness and surface finish
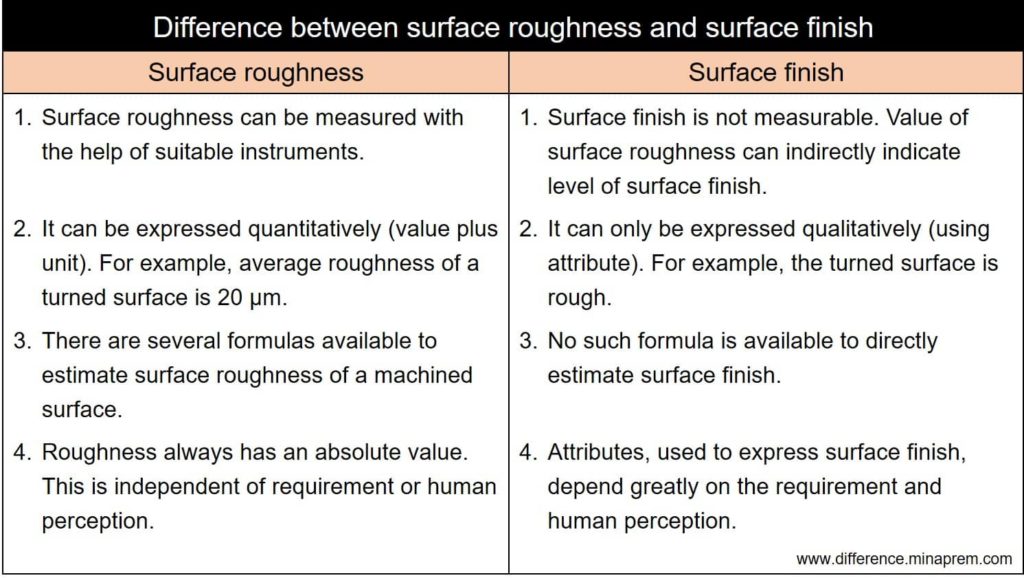
| Surface roughness | Surface finish |
|---|---|
| Surface roughness can be measured with the help of suitable instruments. | Surface finish is not measurable. Value of surface roughness can indirectly indicate level of surface finish. |
| It can be expressed quantitatively (value plus unit). For example, average roughness of a turned surface is 20 µm. | It can only be expressed qualitatively (using attribute). For example, the turned surface is rough. |
| There are several formulas available to estimate surface roughness of a machined surface. | No such formula is available to directly estimate surface finish. |
| Roughness always has an absolute value. This is independent of requirement or human perception. | Attributes, used to express surface finish, depend greatly on the requirement and human perception. A 2µm surface roughness can be termed as “good finish” (when roughness of 10µm is tolerable) or “poor finish” (when mirror finish of roughness 100nm is desired). |

References
- Machining and Machine Tools by A. B. Chattopadhyay (Wiley).
- Metal Cutting: Theory And Practice by A. Bhattacharya (New Central Book Agency).
- DeGarmo’s Materials and Processes in Manufacturing by J. T. Black and R. A. Kohser (Wiley).